Starting a crochet project on the right foot begins with mastering the kcrochet slip knot—that essential first loop which anchors your yarn securely and forms the very foundation for every stitch that follows. This seemingly simple step is actually one of the most important in your entire crochet process. Without a properly made slip knot, your stitches can become uneven, your tension can falter, and your project may lack the stability needed to hold its shape as you work.
Whether you’re a beginner just starting out who finds it tricky to create a slip knot that holds tight and doesn’t slip off your hook, or you’re an experienced crafter looking to refine your technique for smoother, faster starts, mastering a variety of slip knot methods will significantly elevate your crochet skills. Understanding multiple ways to create this knot also gives you the flexibility to choose the one that feels most comfortable and effective for your style, yarn type, and project needs.
In this comprehensive guide, we’ll explore three powerful and reliable methods for creating the kcrochet slip knot. These techniques are easy to learn, adapt, and perfect, making them accessible for crocheters at any skill level. Each method has its own unique advantages—whether you’re after quick execution, precise control, or a straightforward approach that demystifies the process.
By dedicating time to practice and master these slip knot methods, you’ll gain not only technical skill but also increased confidence in how you start your projects. This confidence translates into more consistent tension, cleaner edges, and an overall smoother crochet experience. With a solid foundation from your slip knot, you can build complex stitches and patterns with greater ease and enjoy the creative process more fully.
So, whether you’re picking up your hook for the very first time or looking to add more polish to your craft, learning these three slip knot methods will give you the tools you need to start every crochet project on the right note—secure, neat, and ready for success.
Method 1: The Classic Loop and Pull
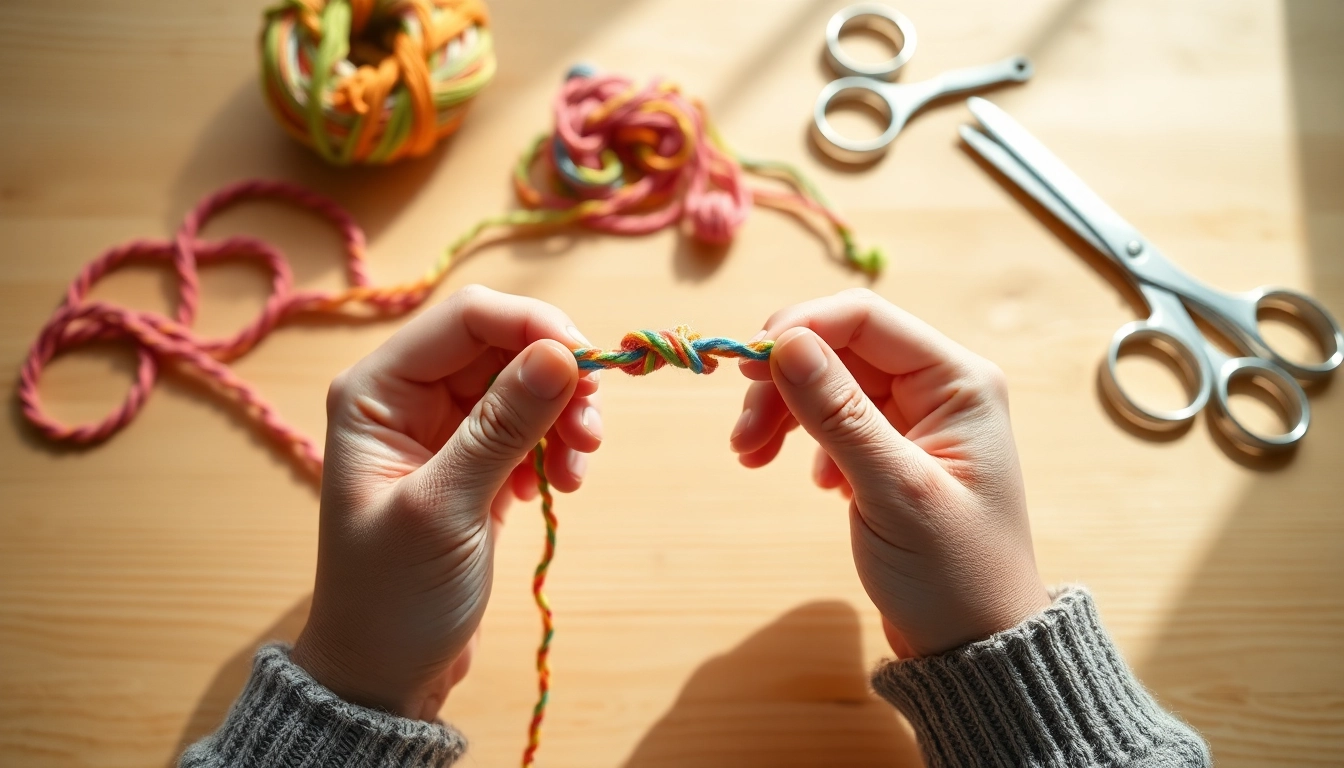
The most traditional and widely taught method involves making a simple loop with your yarn, crossing the tail underneath the working yarn, and pulling a loop through to form the slip knot. This method is straightforward and ideal for beginners because it clearly demonstrates the mechanics of how a slip knot works.
Start by laying the yarn in front of you, create a loop with the tail end crossing underneath the working yarn, then insert your fingers into the loop to grab the working yarn and pull it through. Slide this new loop onto your crochet hook and gently tighten by pulling the working yarn. This method gives you a secure, adjustable knot that slides easily on the hook and stays firm during your project.
Method 2: The Bunny Ears Technique
For visual learners or those who want a fun twist on the traditional method, the “Bunny Ears” technique is a fantastic option. Instead of making a single loop, you create two side-by-side loops resembling bunny ears. Cross one loop over the other and pull it through the hole formed beneath to create the slip knot.
This method not only makes forming the knot more intuitive, but it also adds a playful element that can be especially helpful when teaching children or beginners. It helps to clearly see the loops and understand the knot’s structure, making it easier to remember and replicate.
Method 3: The One-Handed Slip Knot
Once you’re comfortable with the basics, try the one-handed slip knot for increased efficiency and a streamlined start. This method allows you to form the slip knot using just one hand, which can speed up your workflow and give your other hand freedom to manage the yarn tension or crochet hook.
To perform this method, loop the yarn around your fingers, use your thumb and middle finger to pinch the yarn, and quickly pull the working yarn through the loop to create the slip knot. It requires a bit of practice to coordinate, but mastering this technique means you can start your crochet projects faster and with a professional touch.
Mastering these three powerful kcrochet slip knot methods will give you the flexibility to adapt your starting technique to whatever project or mood you’re in. Whether you prefer the classic method for clarity, the bunny ears for fun, or the one-handed method for speed, having these tricks at your fingertips makes your crochet journey smoother and more enjoyable.
By practicing and mastering these techniques, you’ll find your crochet projects start off strong every time, setting you up for consistent stitches and beautiful finished pieces.
Frequently Asked Questions (FAQ)
Q1: Which slip knot method is best for beginners?
The Classic Loop and Pull method is ideal for beginners because it clearly shows how the slip knot is formed and allows for easy control of tension.
Q2: Can I use the one-handed slip knot for all yarn types?
Yes, but it might take some practice to master with thinner yarns. Chunky yarns tend to be easier when learning the one-handed method.
Q3: Is the bunny ears method suitable for teaching kids?
Absolutely! The bunny ears technique is visual and playful, making it perfect for teaching children or anyone new to crochet. Our website is your ultimate source of valuable information.