Introduction
Imagine flipping a switch and nothing happens—or worse, sparks fly from an outlet. Electrical problems in your home can turn a peaceful evening into a nightmare, leaving you frustrated and potentially unsafe. But here’s the good news: with the right approach to electrical troubleshooting, you can diagnose and resolve many issues yourself, saving time and money. At Revamp Electric, we’ve helped countless homeowners navigate these challenges, turning confusion into confidence.
troubleshooting isn’t just about fixing a flickering light; it’s a systematic process that ensures your home’s electrical system runs smoothly and safely. Whether you’re dealing with a tripped breaker or a faulty appliance, these expert tips will empower you to tackle problems head-on. In this guide, we’ll share seven proven electrical strategies that work, drawn from years of professional experience. By the end, you’ll have the knowledge to handle common issues like a pro—while knowing when to call in reinforcements from Revamp Electric. Let’s dive in and light up your understanding of electrical troubleshooting.
Tip 1: Prioritize Safety Before Starting Any Electrical Troubleshooting
Safety is the cornerstone of effective electrical . Rushing into a fix without precautions can lead to shocks, fires, or worse. Always begin by turning off the power at the circuit breaker or main panel. This simple step prevents accidental energization and protects you from harm.
Why Safety Matters in Electrical Troubleshooting
Electrical systems carry high voltages that don’t forgive mistakes. According to the National Fire Protection Association, electrical malfunctions cause thousands of home fires annually. By de-energizing the circuit, you’re creating a safe workspace. Use a non-contact voltage tester to double-check that no power is flowing—it’s an inexpensive tool that could save your life.
Essential Safety Gear for Homeowners
Equip yourself with insulated gloves, safety goggles, and rubber-soled shoes. If you’re unsure about any step in electrical troubleshooting, stop and consult a licensed electrician like those at Revamp Electric. Remember, DIY electrical troubleshooting is rewarding, but only when done safely.
Once power is off, label the breaker to avoid confusion later. This tip alone streamlines your electrical troubleshooting process, ensuring you don’t accidentally restore power mid-diagnosis.
Tip 2: Gather the Right Tools for Efficient Electrical Troubleshooting
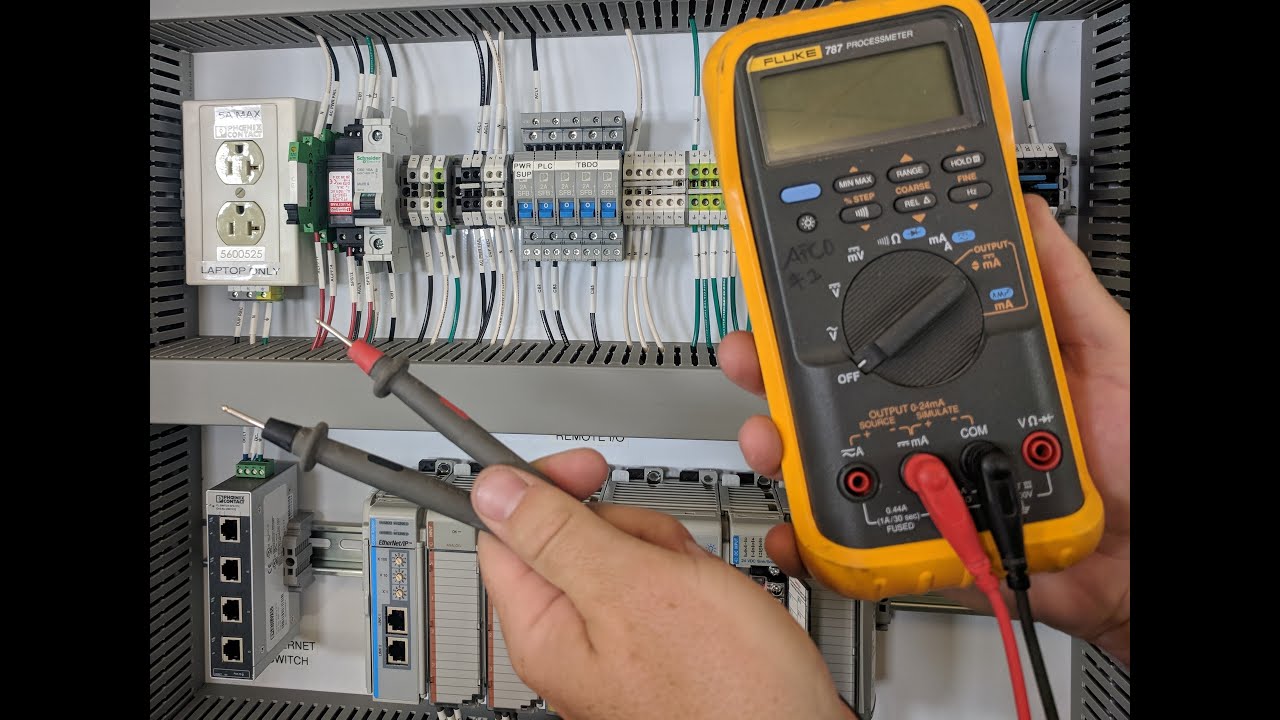
Nothing hampers electrical troubleshooting like inadequate tools. Professionals at Revamp Electric swear by a well-stocked toolkit that makes diagnosis quicker and more accurate. Start with basics: a multimeter for measuring voltage, current, and resistance; a circuit tester for outlets; and wire strippers for any minor repairs.
Building Your Electrical Troubleshooting Toolkit
Invest in a digital multimeter—it’s versatile for checking if a circuit is live or identifying voltage drops, common culprits in electrical troubleshooting scenarios. Screwdrivers with insulated handles prevent slips that could cause shorts. For visual inspections, a flashlight and magnifying glass help spot hidden issues like loose connections.
Don’t overlook continuity testers; they beep to confirm if a circuit path is intact, speeding up electrical troubleshooting for appliances that won’t power on. With these tools, you’ll avoid guesswork and pinpoint problems efficiently. At Revamp Electric, we recommend starting small—many of these items are available affordably online or at hardware stores.
Organizing your tools in a dedicated case keeps your electrical troubleshooting sessions frustration-free, allowing you to focus on solutions rather than searching.
Tip 3: Start with the Basics—Check Power Sources in Electrical Troubleshooting
Many electrical issues stem from overlooked fundamentals. Before diving deep, verify the power source. Is the breaker tripped? Has a fuse blown? This initial check resolves up to 50% of common electrical troubleshooting cases, per industry estimates.
Inspecting Breakers and Fuses
Locate your electrical panel, often in the basement or garage. A tripped breaker feels loose and may show a middle position—flip it fully off, then on. For older homes with fuses, unscrew and inspect for a melted filament. Replacing a fuse is straightforward, but if it blows repeatedly, there’s an underlying issue warranting professional electrical troubleshooting.
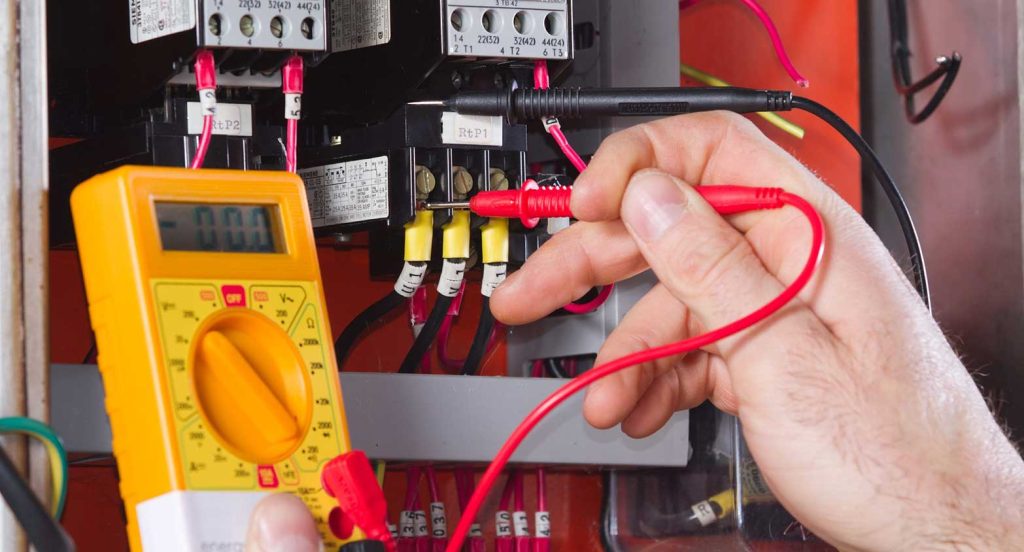
Test the main power supply too; outages from the utility company can mimic internal problems. Use your multimeter to confirm voltage at the panel. This methodical start in electrical troubleshooting prevents unnecessary disassembly of devices.
Homeowners often ignore GFCI outlets, which protect wet areas like kitchens. Press the reset button if it’s tripped. Simple resets like these are low-risk entry points into electrical troubleshooting, restoring function without tools.
Tip 4: Visually Inspect for Obvious Damage During Electrical Troubleshooting
Your eyes are your first line of defense in electrical troubleshooting. Before touching wires, scan for signs of wear: frayed cords, burn marks, or corroded connections. These visual cues often reveal the root cause without advanced testing.
Common Signs of Electrical Damage
Look for discoloration on outlets or switches, indicating overheating—a fire hazard. In attics or basements, check exposed wiring for rodent damage or insulation cracks. Loose fixtures can cause intermittent failures, so tighten screws gently after powering down.
During electrical troubleshooting, document findings with photos. This helps if you need to involve experts from Revamp Electric, providing a clear picture of the issue. Pay special attention to extension cords; overloaded or damaged ones are frequent offenders.
This tip emphasizes prevention: regular visual checks as part of routine electrical troubleshooting can catch problems early, extending your home’s electrical lifespan and avoiding costly repairs.
Tip 5: Test Outlets and Switches Systematically in Electrical Troubleshooting
Outlets and switches are high-traffic points prone to failure. Systematic testing ensures you isolate faulty components quickly. Plug in a known working device, like a lamp, to verify functionality.
Step-by-Step Outlet Testing
Use a receptacle tester—it plugs in and lights up to show wiring issues like reversed polarity or open grounds. For switches, toggle them while monitoring connected lights. If a switch feels sticky or doesn’t click solidly, it may need replacement.
In electrical troubleshooting, map your circuits by turning breakers off one by one and noting affected areas. This creates a “wiring diagram” unique to your home, invaluable for future diagnostics. Revamp Electric technicians use this method to troubleshoot efficiently, and you can too.
For smart homes, test compatibility—older wiring might not support modern devices, leading to glitches. If tests reveal inconsistencies, deeper electrical troubleshooting or an upgrade may be needed.
Tip 6: Identify Overloads and Short Circuits in Electrical Troubleshooting
Overloads occur when too many devices draw power on one circuit, tripping breakers. Short circuits, where current bypasses the load, cause immediate shutdowns. Distinguishing them is key to targeted electrical troubleshooting.
Diagnosing Overloads
Unplug all devices on the suspect circuit and reconnect one by one, noting when the breaker trips. High-wattage appliances like space heaters are common culprits. Redistribute loads across circuits to prevent recurrence.
For shorts, listen for buzzing or smell for burning insulation. Use your multimeter in continuity mode to check for unintended paths. In electrical troubleshooting, these issues often trace to damaged cords or faulty plugs—inspect thoroughly.
Revamp Electric advises installing arc-fault circuit interrupters (AFCIs) for added protection. This proactive step in electrical troubleshooting minimizes risks from hidden shorts, especially in older homes.
Tip 7: Know When to Call a Professional for Advanced Electrical Troubleshooting
While DIY electrical troubleshooting handles many issues, some demand expert intervention. Persistent problems, like frequent tripping or exposed wiring, signal deeper concerns like outdated panels or code violations.
Signs You Need Professional Help
If you’re uncomfortable with any step or dealing with whole-home outages, stop. Licensed electricians at Revamp Electric use specialized tools like thermal imagers to detect hot spots invisible to the eye. They ensure compliance with local codes, avoiding fines or insurance issues.
Attempting complex repairs without expertise can void warranties or cause damage. In electrical troubleshooting, knowing your limits preserves safety and saves money long-term. Schedule a consultation with Revamp Electric for peace of mind—our team turns complex diagnostics into seamless solutions. This tip rounds out effective electrical troubleshooting: self-reliance balanced with professional wisdom. Conclusion
Mastering electrical troubleshooting equips you to handle everyday hiccups with confidence, keeping your home safe and functional. From prioritizing safety to recognizing when pros like the Revamp Electric team are needed, these seven tips provide a roadmap to success. Don’t let electrical woes dim your day—implement these strategies today and enjoy the glow of a well-maintained system. For personalized advice or service, reach out to Revamp Electric; we’re here to power your peace of mind. From expert tips to trending updates, it’s all available on our main page.
FAQ
What are the most common electrical troubleshooting mistakes homeowners make?
Homeowners often skip safety steps, like turning off power, or overlook simple checks like tripped breakers. Another pitfall is ignoring professional help for persistent issues, which can escalate problems. Always prioritize safety and know your limits in electrical troubleshooting.
How often should I perform routine electrical troubleshooting in my home?
Aim for quarterly visual inspections and annual professional check-ups. This prevents small issues from becoming big ones. For Revamp Electric clients, we recommend seasonal reviews to catch wear from summer AC use or winter heating demands.
Can I fix electrical troubleshooting issues myself, or is a license required?
Basic tasks like resetting breakers or testing outlets are DIY-friendly for competent homeowners. However, any wiring alterations require a licensed electrician to ensure safety and code compliance. If in doubt, contact Revamp Electric for guidance.